How to Make a Photo Grid Collage

A photo grid is a simple and popular way to create a photo collage.
In this guide, you'll learn how to easily create a variety of grid layouts, including those similar to the photo grids shown above.
No design experience needed—anyone can do it!
Before we get started, download and install TurboCollage. It takes less than a minute to download and complete the installation.
Make a Photo Grid with Any Number of Rows and Columns
At its simplest, a photo grid arranges photos in a fixed number of rows and columns. In this section, we will learn to make a photo grid with photos arranged in equal-sized rows and columns.

Follow the instructions below to create a photo grid with any number of rows and columns. You can make small 2 X 1, 2 X 2, 2 X 3, and 3 X 3 grids, as well as large photo grids with many rows and columns.
Let's build the photo grid shown below.

A 15-photo grid with 3 rows and 5 columns of pictures.
Step 1: Open TurboCollage
Open TurboCollage and set your collage to use the Picture Grid pattern.

A screenshot of TurboCollage highlighting the selection of the Picture Grid pattern.
Step 2: Set Photo Grid Size
Set a size for your photo grid. You can set any size by entering the dimensions; for this example, we've set the grid size to 4 inches by 6 inches.

A screenshot of TurboCollage highlighting the controls to set the picture grid size.
Step 3: Set the Number of Rows and Columns
Set the number of rows and columns in your grid as required. For this example, we will use 3 rows and 5 columns.

A screenshot of TurboCollage highlighting the controls to set the number of rows and columns in the photo grid.
Step 4: Add Photos
Add pictures to your Photo Grid. Since we’re using a 3-row and 5-column grid, we will add 15 photos.

A screenshot of TurboCollage highlighting the control to add photos to the photo grid.
If you want to fit pictures inside their frames, set Fit Pictures to Inside. The resulting grid is shown below:

A screenshot of TurboCollage highlighting the control to show the pictures wholly without getting cropped.
Fit Pictures Inside vs Outside
When you fit pictures outside, pictures fill their frames and all canvas area gets utilized. Photos are scaled uniformly, maintaining their aspect ratio, so their dimensions are equal to or larger than the corresponding dimension of the frame. The downside is some pictures are cropped because the frame size for each cell is fixed by the number of rows and columns in the regular grid arrangement.
When you fit a picture inside its frame, it fits entirely within the frame and isn’t cropped. In this case, some blank space is left in the frame.
We will continue to use Fit Pictures set to Outside.
Step 5: Play Around with Borders and Shadows
By default, your photos have a border and a shadow, which makes them stand out and look spaced apart.
To make your collage look simpler, lower the Border Width, uncheck Draw Shadows, and adjust Spacing.

A screenshot of TurboCollage highlighting the controls to adjust spacing between the pictures, border width on pictures, and shadows.
Step 6: Rearrange Pictures
You can drag pictures from one cell to another to rearrange the layout.

A short animation showing how you can drag a photo to a different cell to rearrange the photos in the grid.
Step 7: Pan and Zoom Your Photos Within the Border
To zoom in on something in your photo, click the image and use the pan and zoom controls.

A short animation showing how you can pan and zoom a picture in the grid.
You can also use the crop control to crop a photo in the grid.

A short animation showing how you can crop a picture in the grid.
Step 8: Export to Share with the World!
Your photo grid is ready! Export it as a JPG, then print, email, or post it on social media.

A screenshot of TurboCollage highlighting the control to export the photo grid to a JPG image.
Video Guide
The following video illustrates the steps above:
Tweet This Photo-Grid Making MethodBuild Any Photo Grid Layout

If you have a layout in mind, you can start from a blank canvas and build your design.
For demonstration, let us make the 4-photo grid shown below:
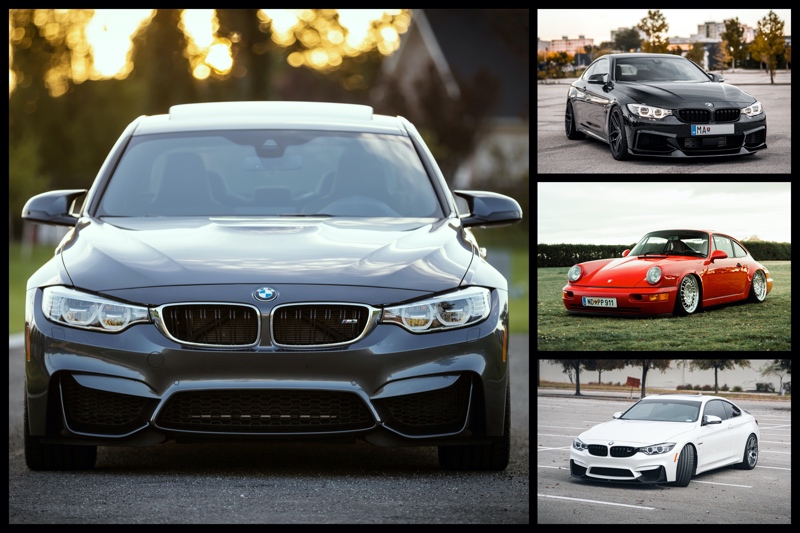
A photo grid with 4 pictures. You can easily make layouts like these in TurboCollage.
Step 1: Open TurboCollage
Open TurboCollage and set your collage to use the Picture Grid (Unequal) pattern.
Note: Picture Grid (Unequal) pattern was earlier called the Mosaic pattern.
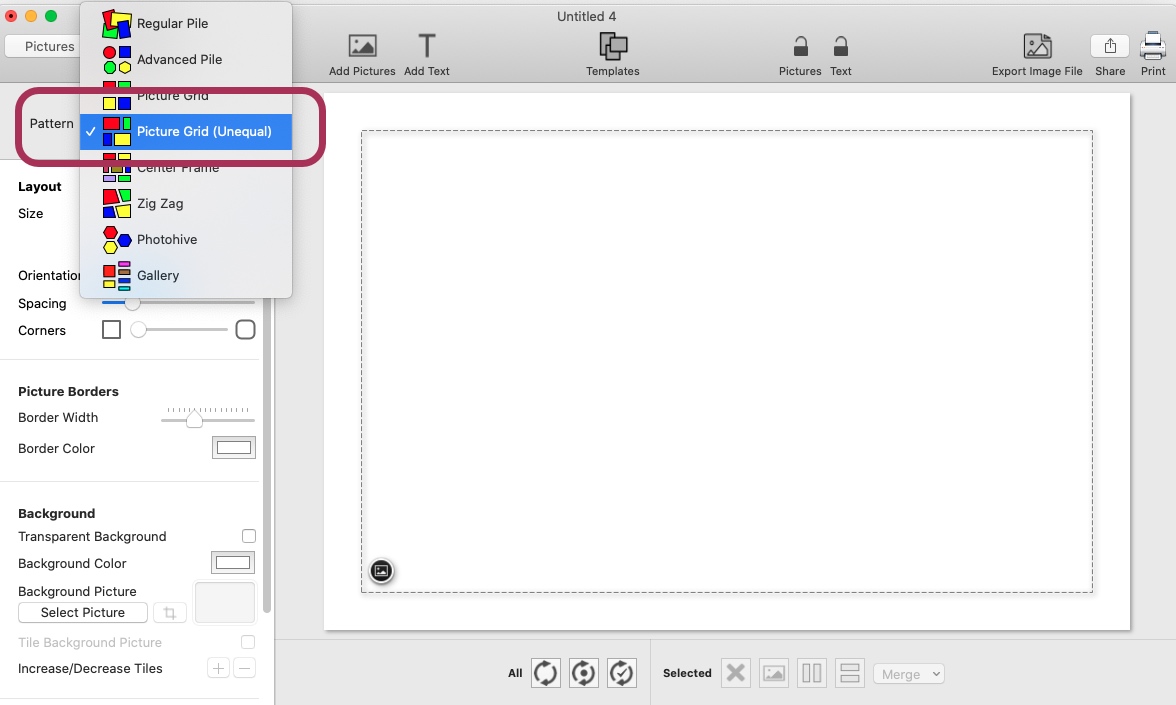
Screenshot of TurboCollage showing selection of Picture Grid (Unequal) pattern.
Step 2: Build Grid Layout
Repeatedly split your canvas to get your layout, as shown in the following illustration.

An illustration showing how to split the canvas to build a photo grid layout.
Here's an 18-second video demonstrating the building of our photo grid layout:
Step 3: Add Pictures
Add pictures to fill the photo grid layout we created in the previous step.
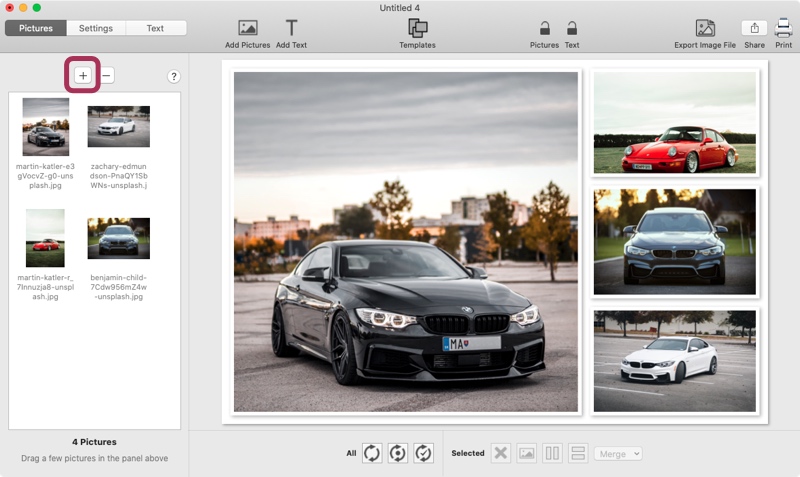
Screenshot of TurboCollage highlighting the control used to add pictures to the photo grid.
Step 4: Customize the Photo Grid
To further customize your photo grid, follow the steps similar to those in the previous section where we made a photo grid with rows and columns.
Video Guide
The following video illustrates the steps above:
Tweet This Photo-Grid Making MethodAutomatically Layout Photos into a Grid

A photo grid with many pictures made using automatic layout in TurboCollage.
Don’t have a layout in mind?
TurboCollage can automatically arrange your photos into a grid. Designers, Illustrators, and Concept Artists use this feature to create design, reference, and mood boards.
This is also very useful when you're building a grid from a large number of images.
Step 1: Launch TurboCollage
Open TurboCollage and set your collage to use the Picture Grid (Unequal) pattern.
Note: Picture Grid (Unequal) pattern was earlier called the Mosaic pattern.
Screenshot of TurboCollage showing selection of Picture Grid (Unequal) pattern.
Step 2: Set Grid Size
Set a size for your photo grid. You can set any size by entering the dimensions; for this example, we've set the grid size to 18 inches by 12 inches.
Step 3: Add Photos
Add pictures to your photo grid. TurboCollage will automatically build a photo grid layout.
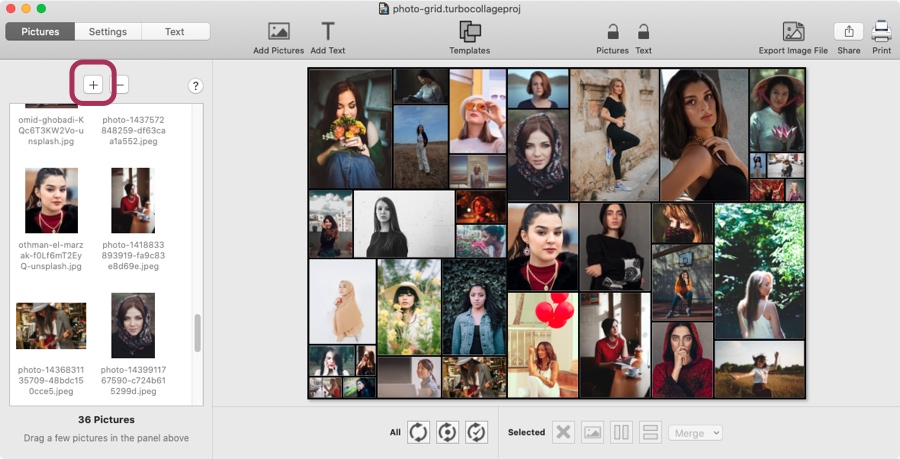
Screenshot of TurboCollage highlighting the control to add pictures.
Step 4: Generate Random Grid Layouts Until You Love One!
Use the intelligent layout tool to get another random arrangement. You can use it multiple times to get the arrangement you like.
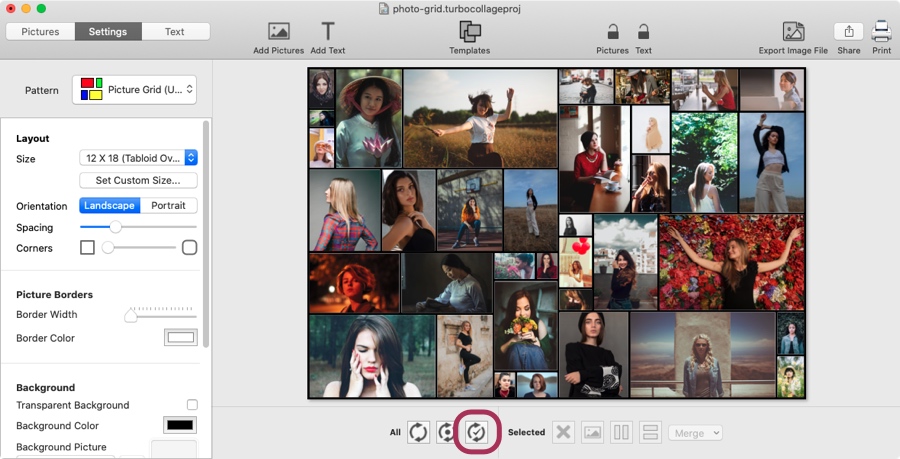
Screenshot of TurboCollage highlighting the control to automatically build a random photo grid from your pictures.
Video Guide
Want to see the above in action? Here's a video:
More Photo Grid Examples
The following sections provide examples of photo grids made using the methods described in previous sections.
Grids with Fixed Row-and-Column Layout
Here are some photo grids that follow a fixed row and column layout.
Steps to make such photo grids.

A photo grid with pictures arranged in a grid of 3 rows and 5 columns.

A 4-photo grid with 2 rows and 2 columns.

A photo grid with 1 row and 6 columns.

A 6-photo grid with 3 rows and 2 columns.
Grid Layouts Designed from Scratch
In the following photo grids we start from a blank canvas and build the layout step-by-step.
Steps to make photo grid layouts like those below.

A 3-photo grid.

A 5-photo grid.
Grids Generated Using Auto-Layout
The following photo grids were generated using intelligent auto-layout in TurboCollage
Steps to make photo grid like these.

A photo grid with pictures randomly laid out.

A photo grid generated using auto-layout.
Tweet This Automatic Photo-Grid Making Method