Make a Diamond Photo Collage

Have you ever seen a photo collage with photos arranged in a grid of diamonds and wondered how to make one?
This post will show you how to quickly and easily make a diamond photo collage.
The features used in this post are available in v7.2.1 and later.
Before we get started, download and install TurboCollage. It takes less than a minute to download and complete the installation.
Steps to Make a Diamond Photo Collage
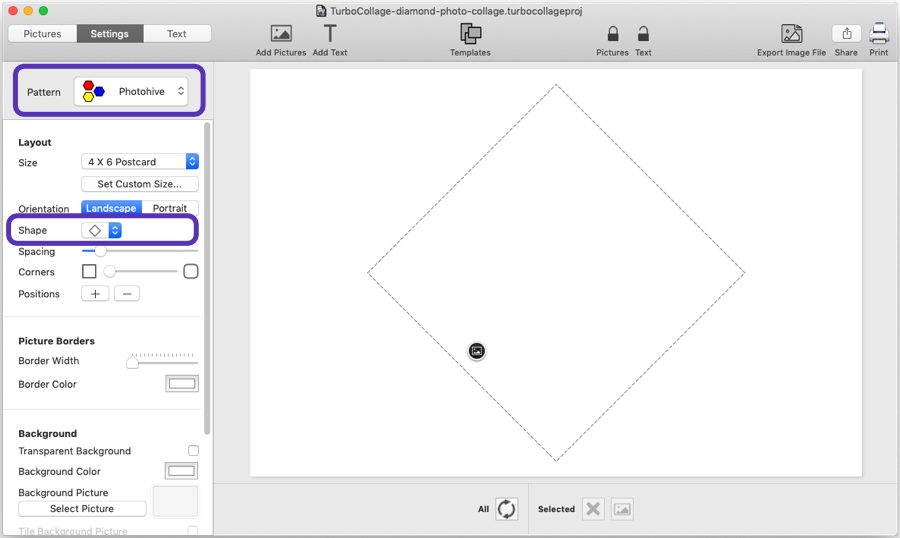
1. Open TurboCollage and set your collage to use the Photohive pattern and Diamond shape.
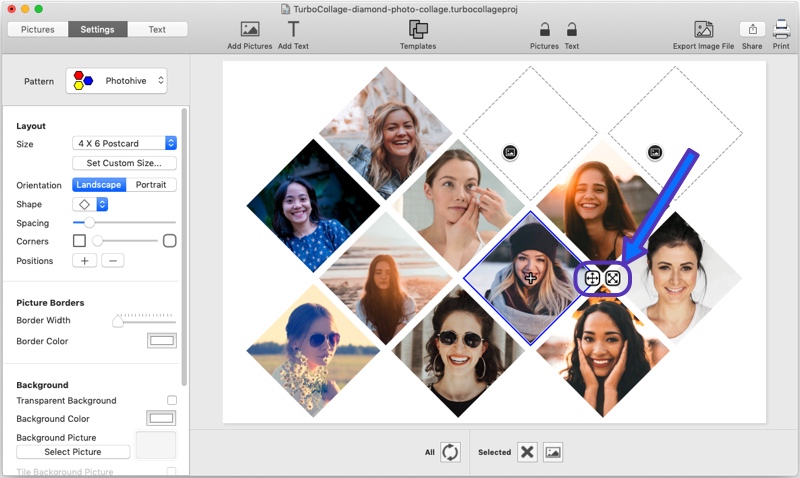
2. Add pictures to your collage.

3. You can quickly pan/zoom a picture in its frame using the controls shown in the screenshot below.
4. Once you're happy with the collage, export it to a JPG image to share it or print it from a local printer or a printing service of your choice.
Want to see the above in action? Here's a video:
Tweet This Diamond Photo Collage Making Method