Make a 100 Photo Collage in 60 Seconds
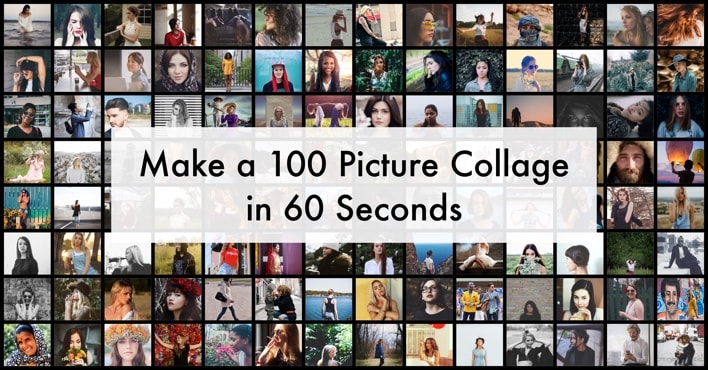
Have you ever had lots of photos to share with your friends but no idea how to organize them all? Whether it's from a photo shoot or a vacation, we've all been there.
Luckily, we've got you covered.
In this article, we'll teach you how to create a collage of 100 or more pictures quickly and easily. And the best part? You don't need any design experience or expensive software like Photoshop.
With that in mind, let’s dive into six types of collages you can make without breaking the bank.
Why Download a 100-Picture Collage Maker App? Why Not Online?
Uploading a hundred photos can be a hassle with online services better suited for smaller, fixed templates.
But with dedicated, downloaded software, you'll have the processing power to edit a large number of high-quality, high-resolution images efficiently. Plus, it's faster and more convenient!
To get started, you'll need to download and install TurboCollage.
Don't worry; it's a quick and easy process that takes less than a minute to complete. Click here to download and get started.
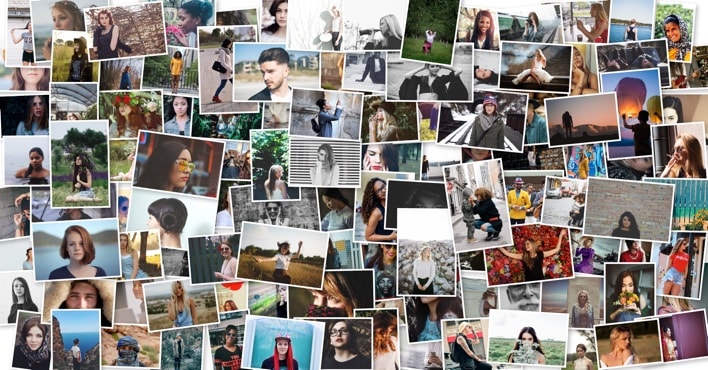
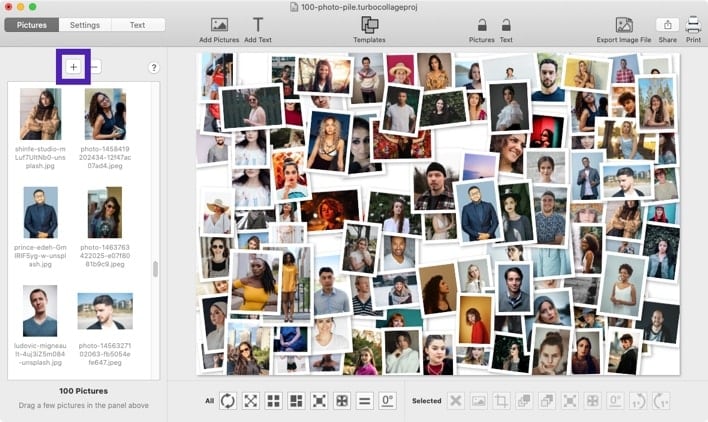
Make a 100 Photo Pile: Add Unlimited Pictures
Let's make a collage with lots of photos like the one below!
Step 1: Start TurboCollage, Your Large Collage Maker
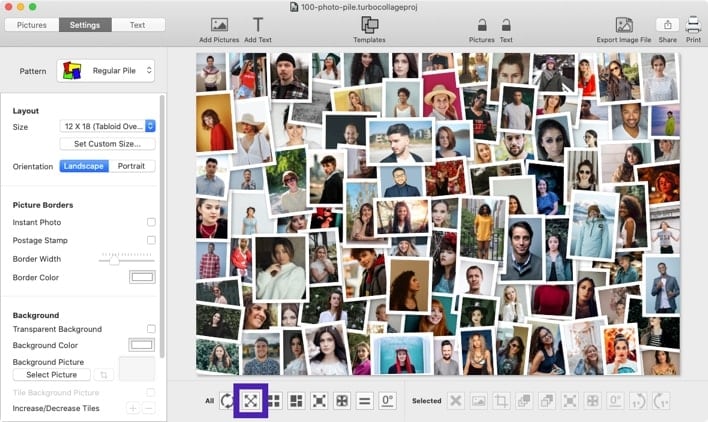
Launch TurboCollage and navigate to the Settings tab. Next, choose the Regular Pile pattern from the options available.
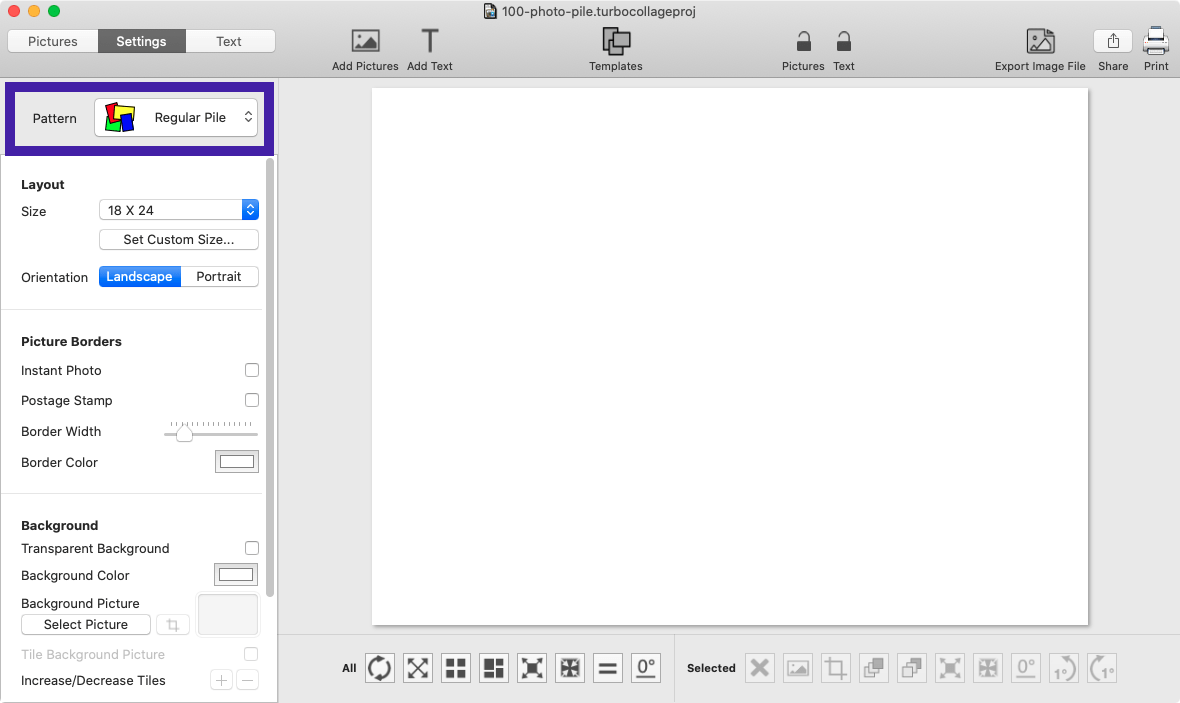
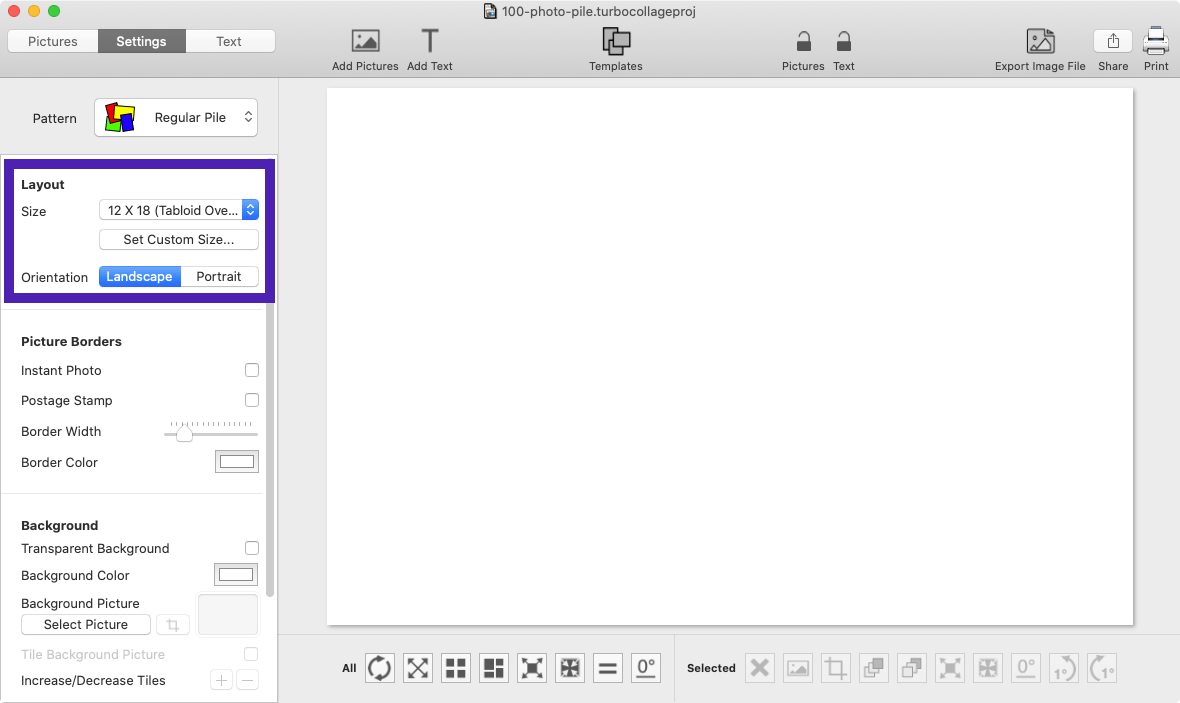
Step 2: Choose the Size of Your Collage
Time to pick the output size of your 100-photo collage. You can choose from a wide range of preset sizes or customize your own by specifying the dimensions. For this tutorial, we've selected the 12 x 18 (Tabloid Oversize) option, but feel free to choose any size that suits your needs.
Step 3: Add Pictures
Time to add some pictures to your collage! Whether you want to include 20, 30, 70, 100, 200, or even more images, we’ve got you covered.
Click the +/Add Pictures button under the Pictures tab to upload your photos, and TurboCollage will automatically arrange them into a pile of photos.
Step 4: Customize Your Photo Pile
To scatter your many photos all over the collage, use the "Spreadout" tool.
And remember, you can customize your photo pile as much as you'd like by adjusting picture positions, resizing, rotating, and even bringing specific images to the top or bottom of the stack. Here's a detailed tutorial on making a photo pile collage.
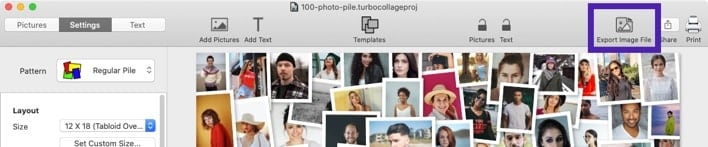
Step 5: Export Your Many Photo Collage to a JPG
When you're satisfied with the arrangement of your many-photo collage, export it as a JPG. From there, you can print it out, email it, or share it on social media.
Want to see the above in action? Here's a 36-second video:
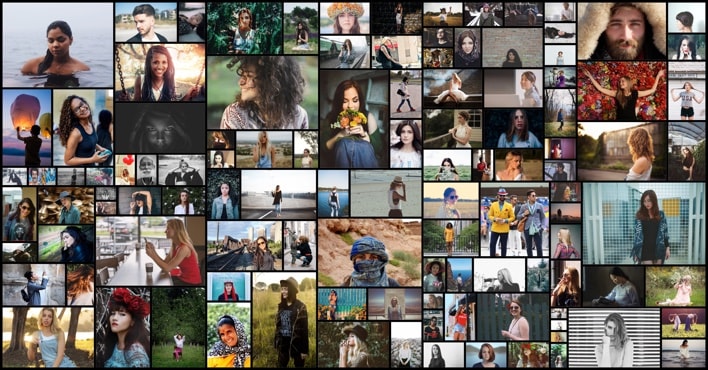
Create a Collage with Lots of Photos
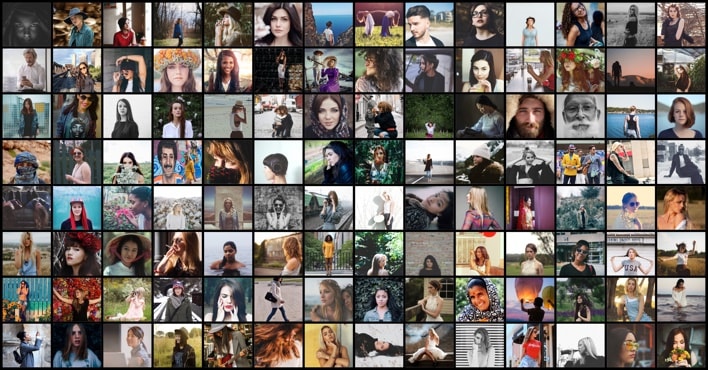
Now, let's dive into creating a collage with many pictures arranged in a grid-like format, just like the one below:
Step 1: Fire-Up TurboCollage
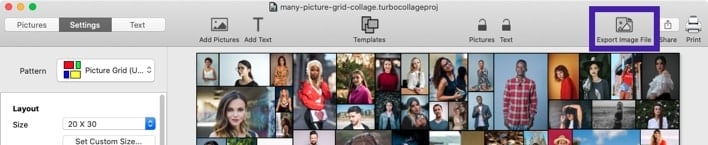
To start, open up TurboCollage and choose the Picture Grid (Unequal) pattern under the Settings tab. Please note that this pattern was previously named Mosaic.
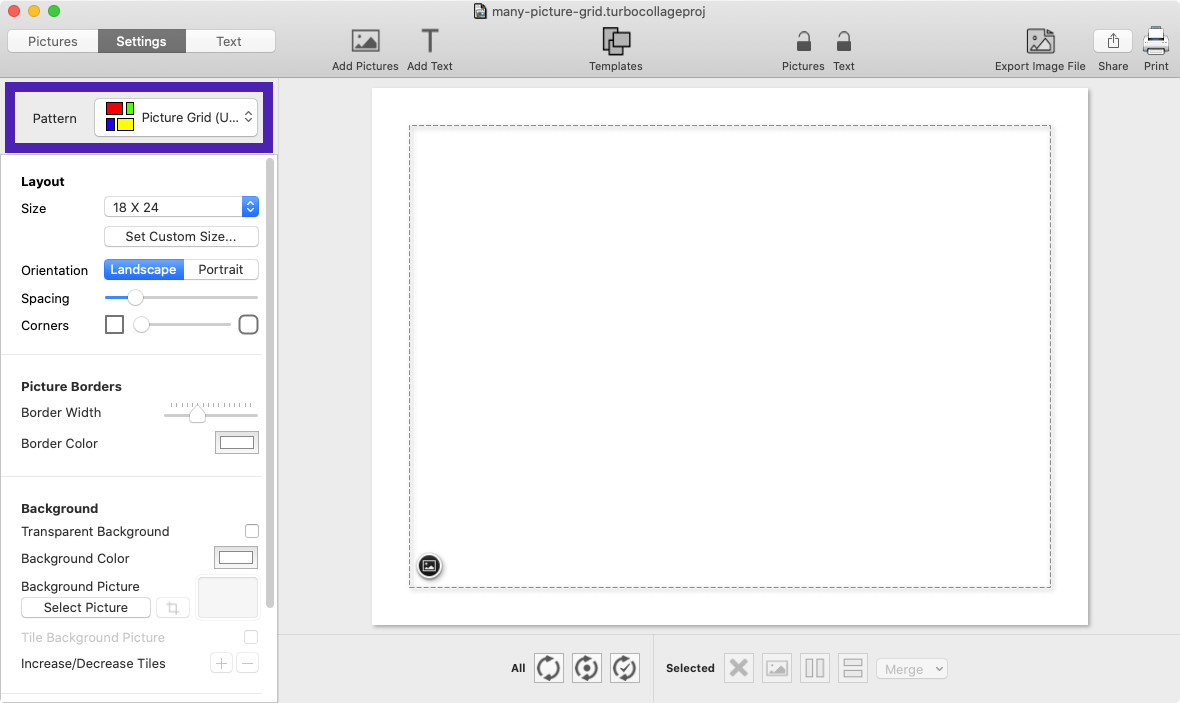
Step 2: Set the Size of Your Collage
Now, select the size of your collage by choosing a preset or specifying the exact dimensions. You can also choose between landscape or portrait orientation.
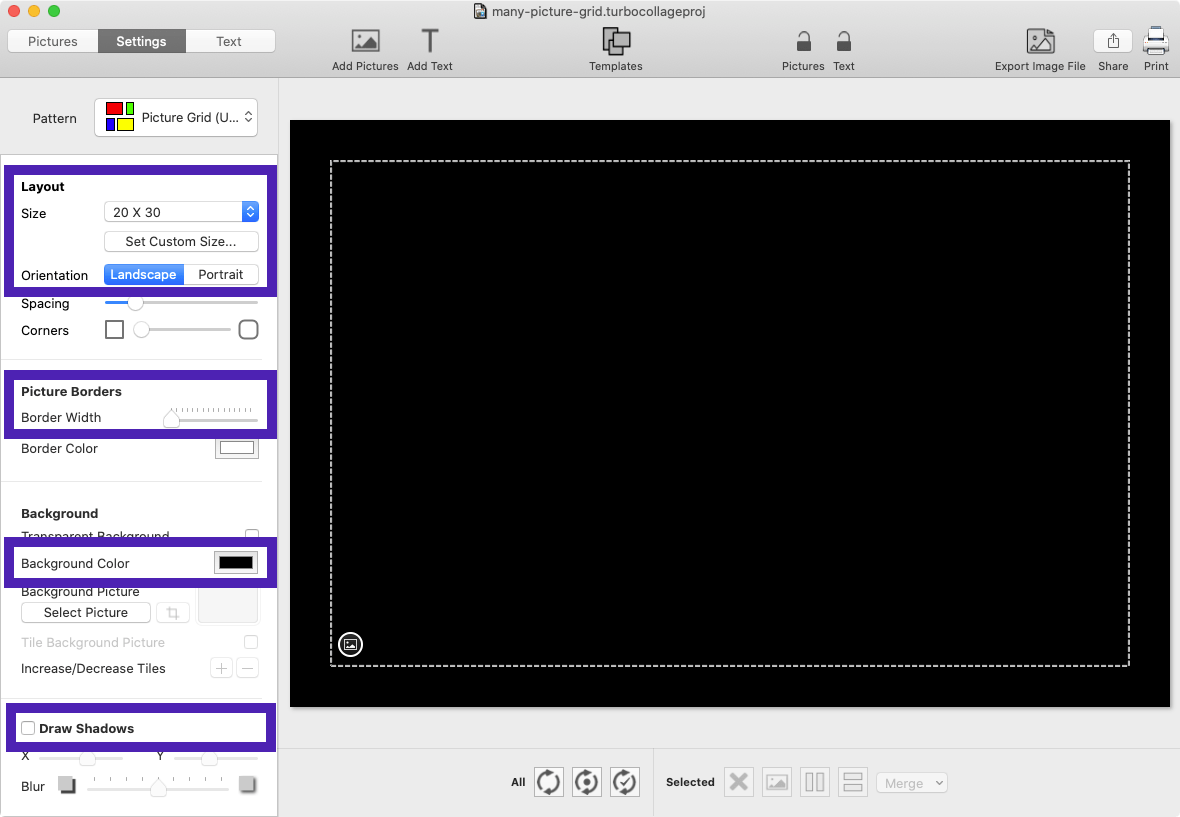
To further customize the look and feel of your collage, you can set the border width to zero, change the background color to black, and turn off shadows. These modifications are optional but can make your photo collage stand out!
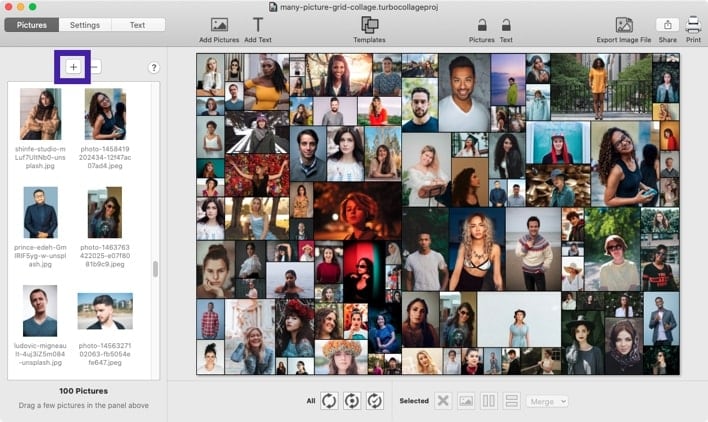
Step 3: Add Pictures to Your Photo Collage
It's time to add some pictures to your collage using the +/Add Pictures button! You can add anywhere from 80 to 100 or even more images to your collage.
TurboCollage will automatically arrange your pictures into a collage, with each image varying in size for a visually appealing look.
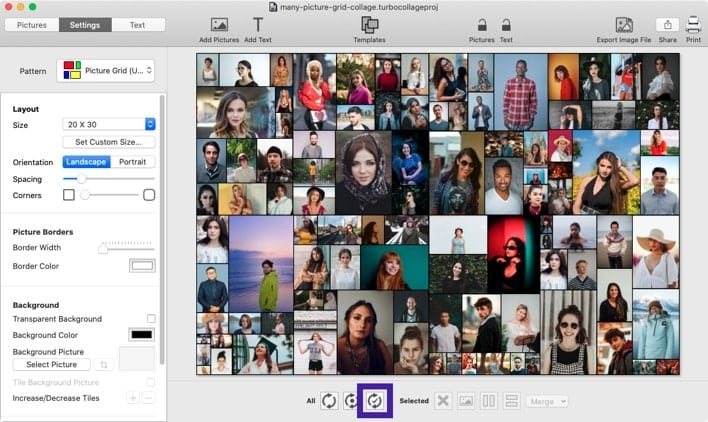
Step 4: Use One-Step Built-In Tools To Get a Fresh Collage
For a fresh new arrangement, try out TurboCollage's intelligent layout tool. You can use this tool multiple times until you find a layout you love.
If you prefer more manual control over your collage layout, check out our detailed tutorial on making and customizing photo grids. It's a great resource to help you achieve the perfect look for your collage!
Step 5: Export the Collage to JPG
Happy with your many-photo collage? Hit the export button to get the JPG of your collage. You can then share your final piece on social media, via email, or print it to show your friends and family.
Want to see the above in action? Here's an under 48-second video:
Make a 100-Photo Grid
Let's create a stunning picture grid that features many images neatly arranged in perfectly aligned rows and columns!
Step 1: Launch TurboCollage
You can't create a collage without your large collage maker! So launch TurboCollage to get started.
Once it's up and running, select the Picture Grid pattern under the Settings tab.

Step 2: Set the Size of Your 100-Picture Grid
Please navigate to the Layout section and select the size of your collage, along with its Orientation (Landscape or Portrait).
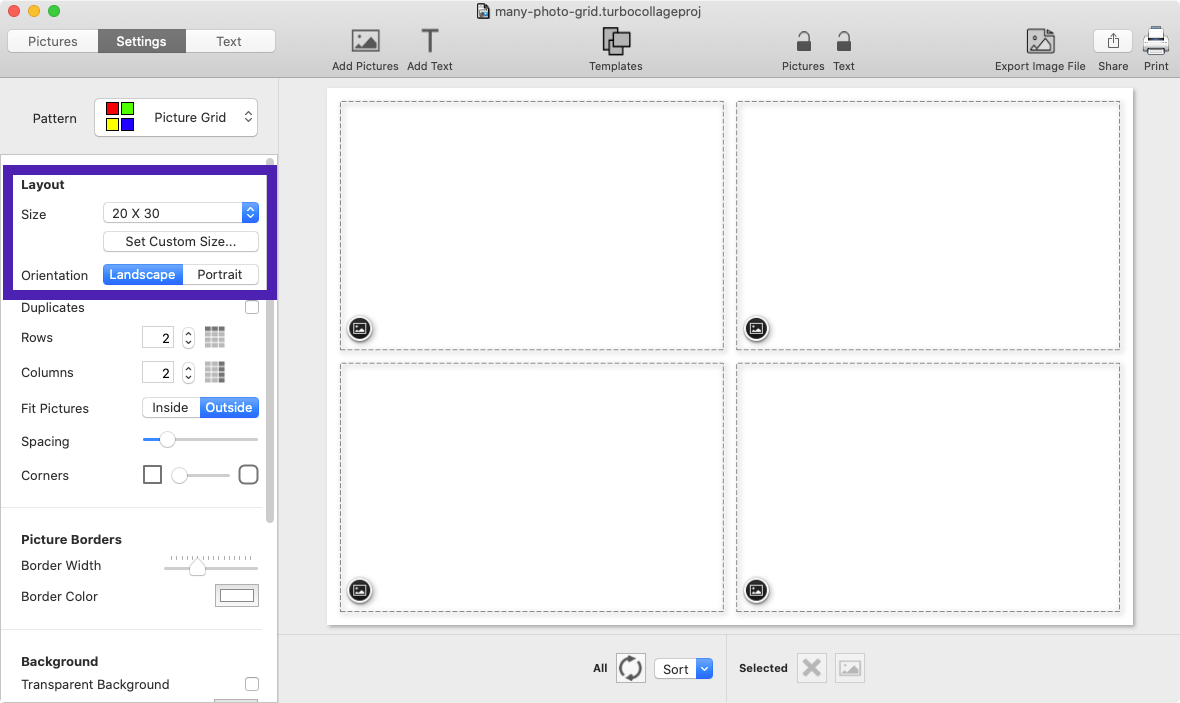
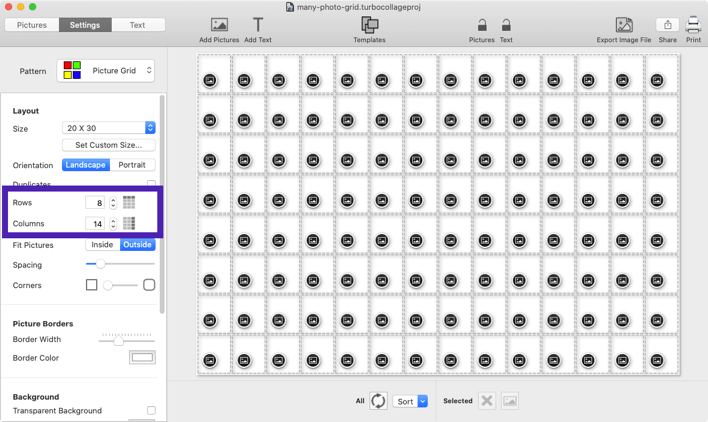
Step 3: Set the Number of Rows and Columns
Next, you'll want to set the number of rows and columns you'd like to use in your collage. In our example, we're using 8 rows and 14 columns, but you can choose the combination that feels right to you.
Step 4: Fine-Tune Your Grid's Appearance (Optional)
For a sleeker look, consider setting the border width to zero, setting the background color to black, and turning off the shadows. While these modifications are optional, they can enhance the appearance of your grid.
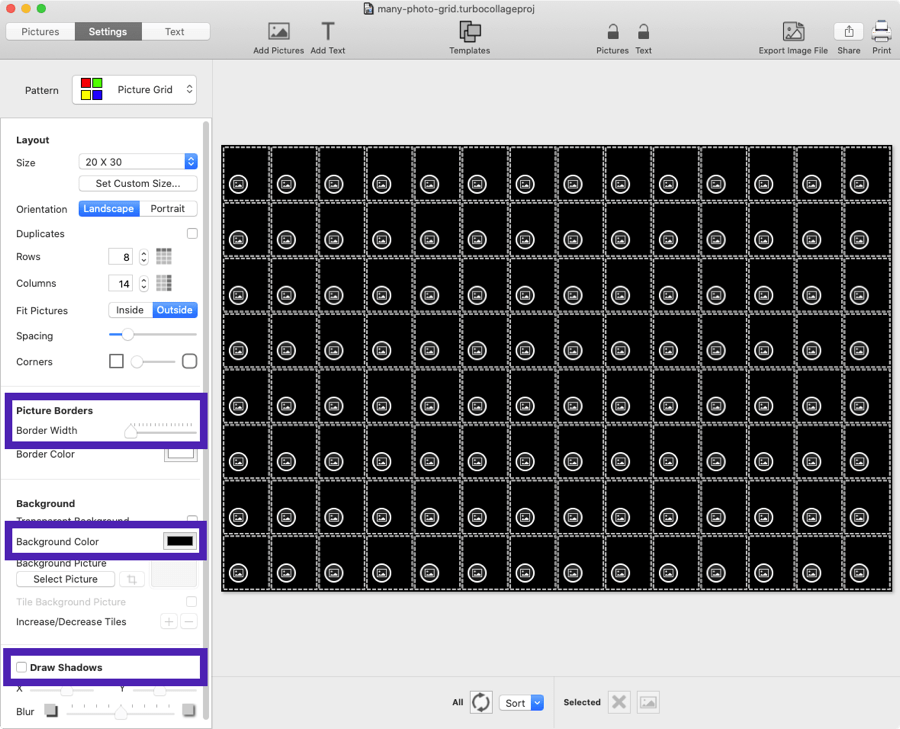
Step 5: Populate Your Grid With Pictures
Add your favorite pictures to the grid using the +/Add Pictures button under the Pictures tab. In this demo, we've added 112 images, making for a lively and vibrant collage. TurboCollage lets you create photo grid collages with as many pictures as you want!
You can also shuffle or sort pictures in your grid to your liking.
TurboCollage offers a wide range of customization options for your photo grid. Want to learn more? Check out our detailed tutorial on making photo grids.

Step 6: Export the Photo Grid to JPG
Click the Export Image File button to save your photo grid as a JPG.

Want to see this process in action? Here's an under 46-second video:
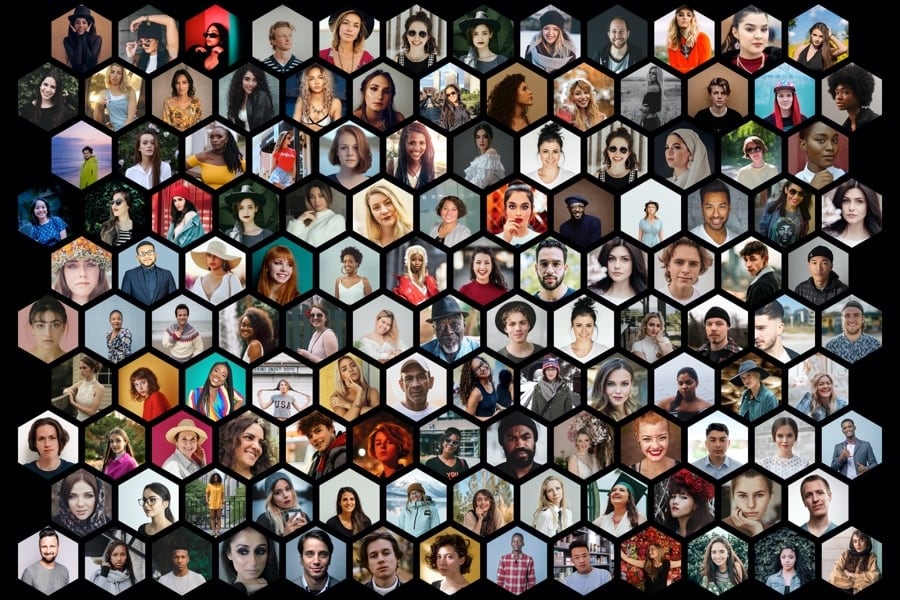
The Fast and Easy Way to Make a Large Picture Collage
Let's explore how to create a large picture collage using Photohive pattern just like the one below:
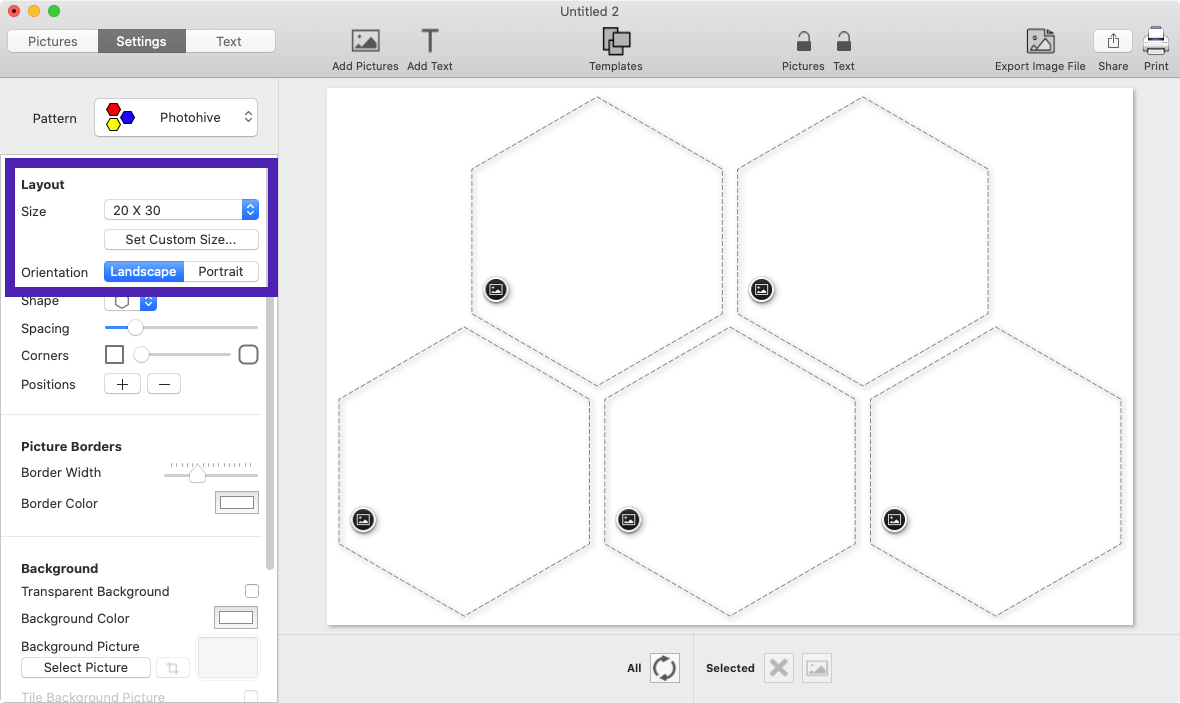
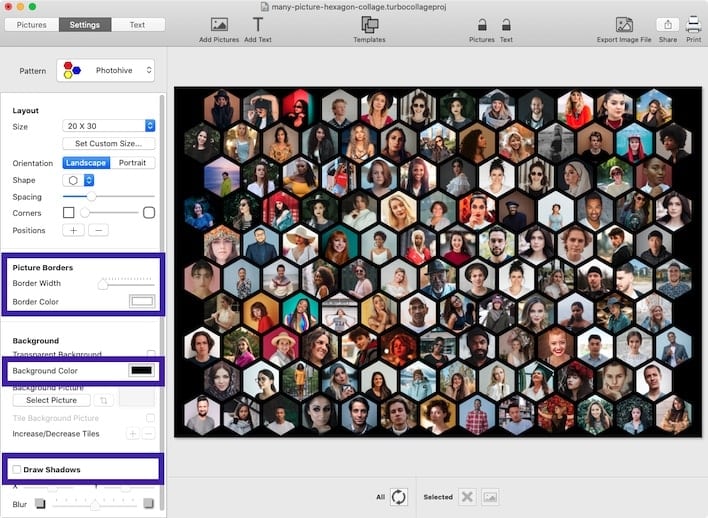
Step 1: Fire Up the Large Collage Maker
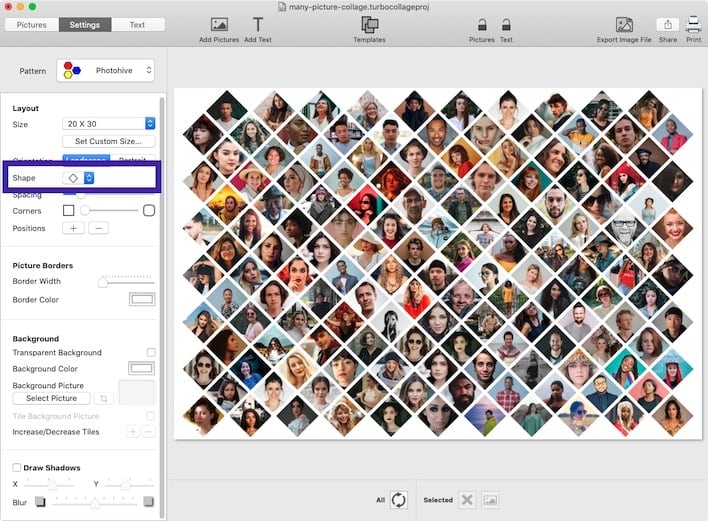
Open TurboCollage, and navigate to the Settings tab. From there, select the Photohive pattern and choose Hexagon under the Shape menu.

Step 2: Set the Size of Your Collage
Under the Settings tab, navigate to the Layout section and choose the size for your collage. You can also select your collage Orientation in this step!
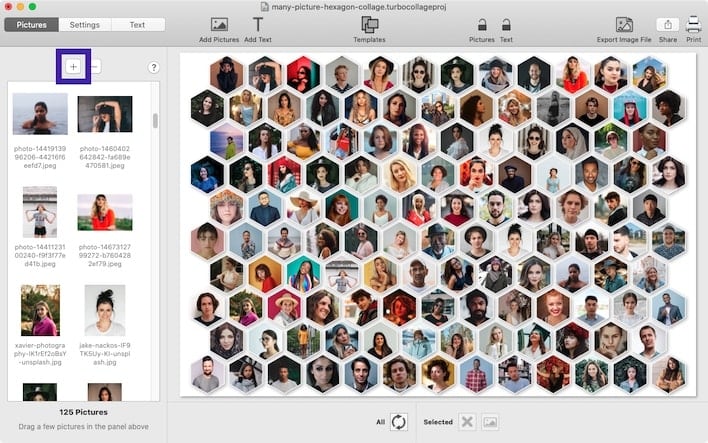
Step 3: Go Supersize! Add More Than 100 Photos
Go wild and add as many photos as you want! To give you an idea, we've added 125 images to our example.
Step 4: Jazz Up Your Collage with a Customized Look (Optional)
Want a darker, sleeker look? No problem. Set the border width to zero, switch off the shadows, and change the background color to black.
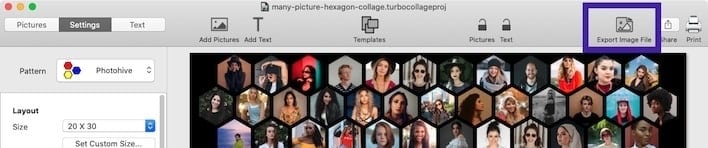
Step 5: Export Your Final Collage to JPG
Happy with your large hexagon collage? Then it's time to export it.
Simply Click the Export Image File button to download the JPG and share your hexagon collage on social media.
Here's a comprehensive tutorial on making hexagon collages.
Step 6: Push Your Creativity With More Large Collage Options
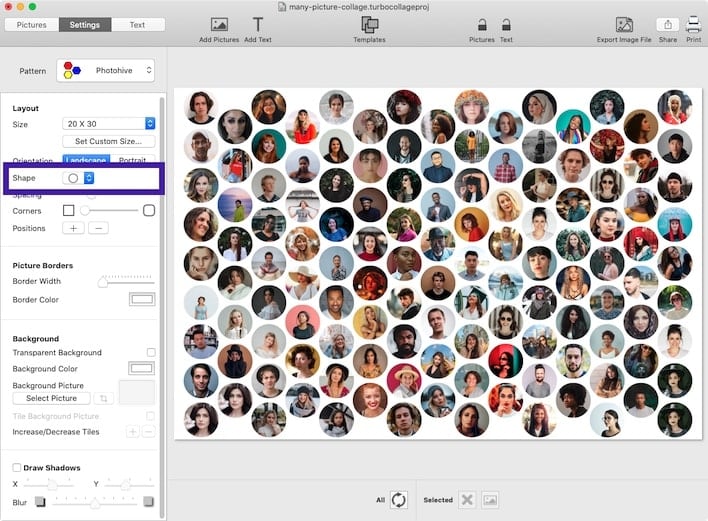
You can use the Photohive pattern to make a variety of large collages. For example, you can make circle or diamond collages, and use TurboCollage's extensive customization features to craft a unique look.
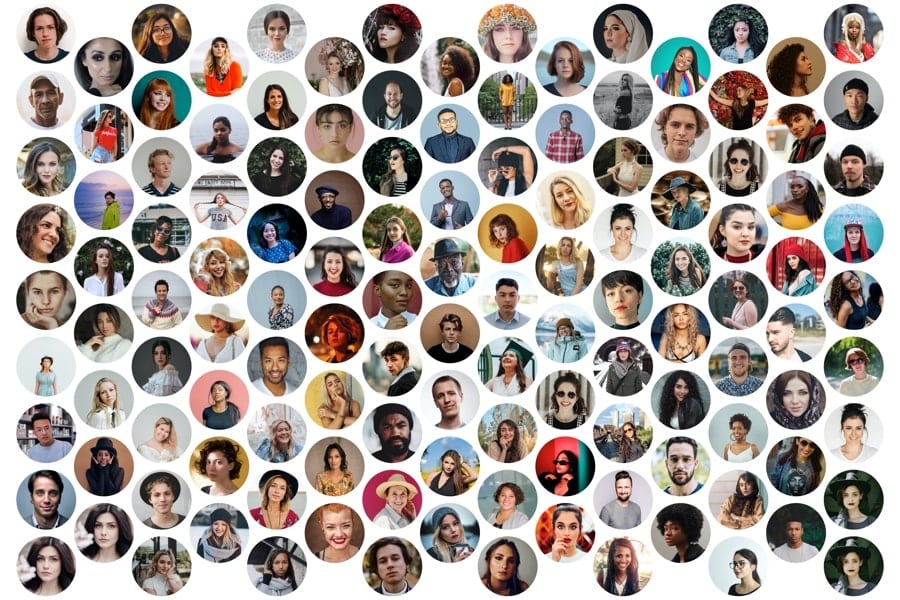
To make a collage like the one above, use the Circle shape and the Photohive pattern shown below. Here's a tutorial on making circle collages.
What about a many-photo collage with Diamond shaped photos?
Simply select the Photohive pattern and Diamond shape. Learn how to make a Diamond Photo Collage.
You can even make a collage out of 200 or 400 photos with the steps described above.
Why Create Collages With Lots of Photos?
You might wonder, "Why would I want to make a collage with so many photos?" Collages are a fantastic way to combine multiple images into one captivating work of art. And more specifically, they allow you to:
- Showcase Your Photography or Design Skills: If you're a photographer or a designer, combining all your photos from a shoot or a design project into one sheet is an excellent way to display your creativity and talents. Imagine having a single masterpiece that features all your best work.
- Make a Lasting Impression: Organizing a conference or a special event? Creating a vast billboard of hundreds of photos is an impressive way to showcase the highlights of the occasion. It's a great conversation starter and will leave a lasting impression on your guests.
- Stand Out on Social Media: Posting multiple photos on social media can be overwhelming, and your followers might not be interested in scrolling through them all. But by making a collage, you can highlight your favorite moments and capture your audience's attention with a visually stunning post.
- Celebrate Your Team: Whether for an annual report or an office display, creating a collage of headshots of all your employees is a great way to show appreciation and celebrate your team's diversity and accomplishments.
- Tell a Story: A collage of multiple images can convey a more extensive narrative or theme that may not be possible with a single photo. By arranging your pictures creatively, you can tell a story and evoke emotions beyond the individual images.
- Make a Unique Gift: A personalized collage featuring memorable moments with friends or family makes for an excellent gift. It shows that you've put in the effort and thought into creating something unique and meaningful.
So, the next time you need to make a collage from many photos, use TurboCollage! Don't be afraid to experiment and let your imagination run wild!